
The Riddle of the Lady
An absence has fallen upon the court heavier than any presence: the disappearance can no longer be denied. Open searches have brought nothing; the time has come for questions asked aslant. On the Chancellery's list stand Sword-Bearer Dragos, Margica the Innkeeper, Captain Vlaicu, Tintar the Jester and Pantelimon the Gardener; one of these names covers a lie. Rumor walks the deed through every corner: the salt market, the throne room, the wharf, the mill by the river and the castle cellar. Few files have tested so many investigators; untangle the threads, catch the lie, and pronounce your verdict.
From the Chancellery archive
This dossier has five categories, and the fifth changes the way you must think: motive. Until now you had to work out who was where and with what; from here on you must also work out why.
Motive is a strange category. A place can be checked and an object can be found, but greed, an inheritance, a debt of honour, ambition and fear of exposure leave no traces. In the grid, however, motive behaves like any other category: each suspect has exactly one, and no two share it.
There are five suspects: Sword-Bearer Dragos, Margica the Innkeeper, Captain Vlaicu, Tintar the Jester and Pantelimon the Gardener. A soldier, an innkeeper, a captain, a jester and a gardener — a gathering only a disappearance could have assembled.
Tier III, five by five. The archivist's advice: do not begin with motives. They are the easiest to narrate and the hardest to prove. Begin with the places.
Suspects
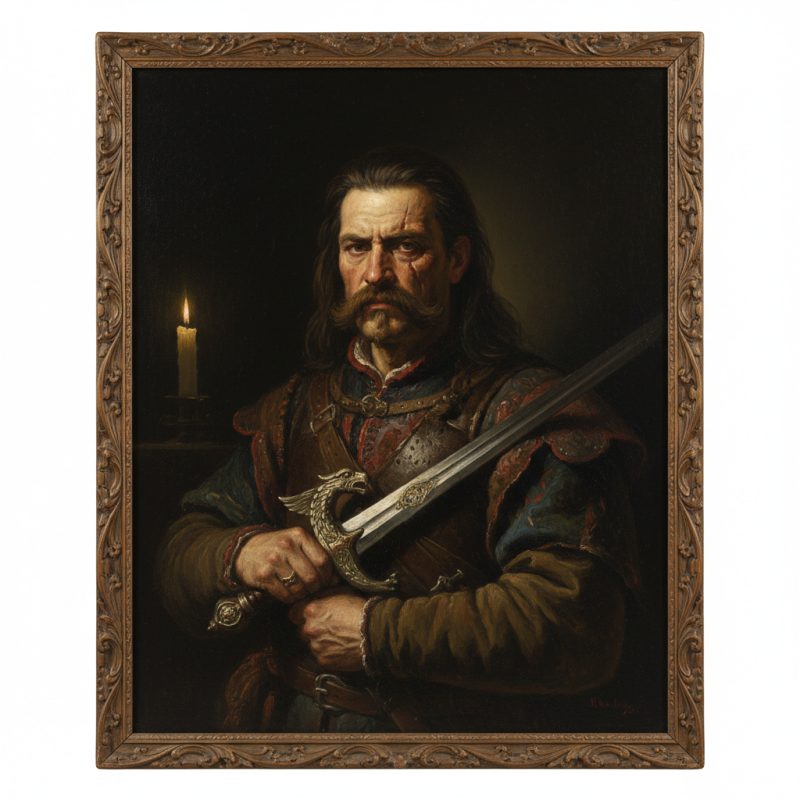
He bears the king's ceremonial sword. At the tourney he has never lost; at dice, always.
 1.86 m
 right-handed
 brown eyes
 chestnut hair
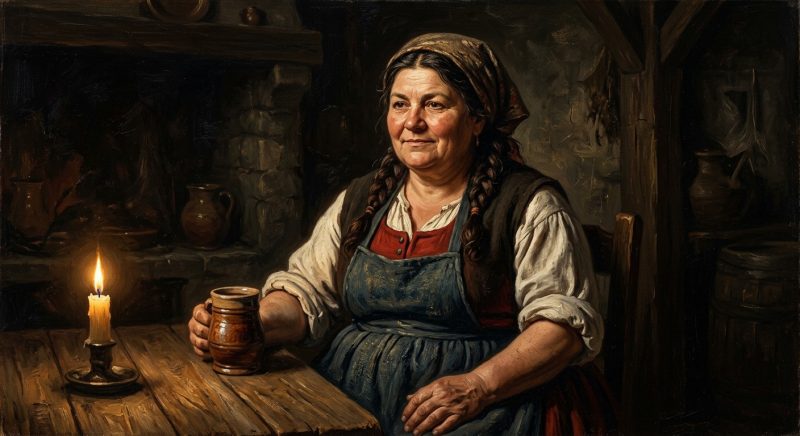
At the Golden Boar inn, wine and secrets are spilled in equal measure. She never forgets a debt - or a word let slip.
1.61 m
right-handed
dark eyes
chestnut hair

He has guarded the fortress gates for twenty years. Who enters and who leaves - he decides what the ledger records.
1.84 m
right-handed
brown eyes
brown hair
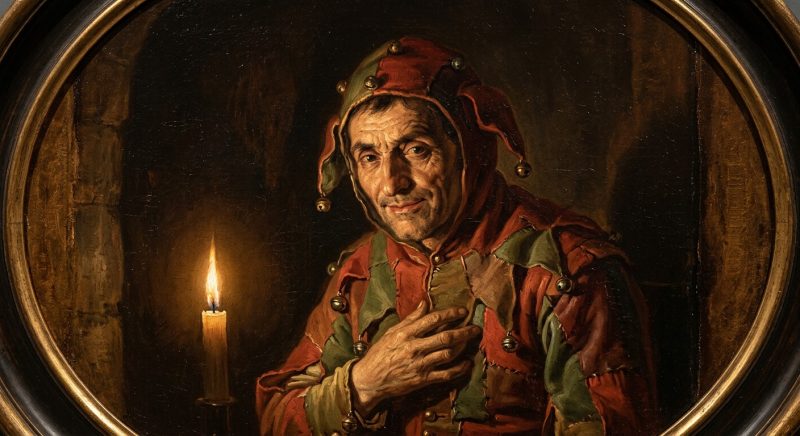
The only man in the kingdom who may tell the king the truth - provided he makes it sound like a joke.
1.56 m
right-handed
green eyes
red hair
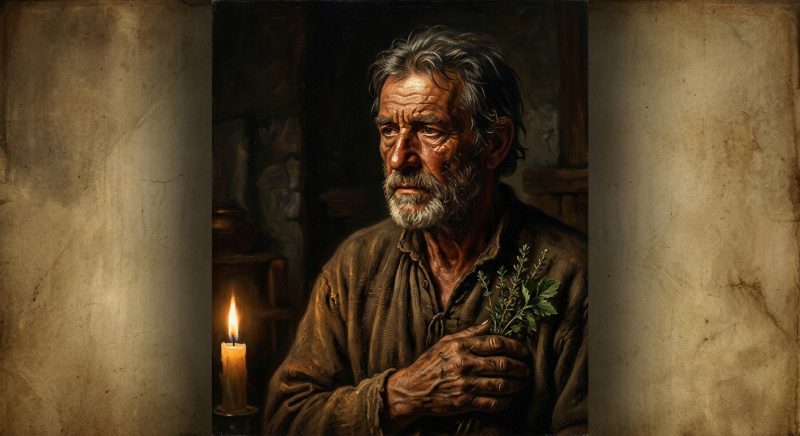
He tends the queen's roses and no one's beds of belladonna. The second garden is the more sought-after.
1.73 m
right-handed
green eyes
greying hair
Locations
 the salt market
Here anything is bargained for, from salt to silences. The price of silence keeps rising.
 the throne room
Gold, purple, and the most closely watched place in the kingdom. In theory.
 the wharf
Moored boats, wet ropes, and goods that prefer to arrive in the fog.
 the mill by the river
The wheel turns day and night. Its noise drowns out any conversation - which is why some are held here.
 the castle cellar
Barrels as big as carts and corners the lantern never reaches.
Objects
 the guild seal
The stamp that turns any goods into goods "of certified quality." Worth a mine of gold.
 the bronze key
Heavy, old, its teeth worn smooth. No one knows what door it opens anymore - or so they say.
 the locked chest
Three padlocks, two rows of straps. Fresh scratches around the hinges, not the locks.
 the broken lantern
The glass cracked, the wick burned to the end. Someone needed a lot of light, fast.
 the vial of belladonna
A small flask, a wax stopper, a label written with care. Three-quarters empty.
Motives
 greed
greed
Dorința nesățioasă de avere, care nu se oprește la nimic.
 the inheritance
O avere așteptată, pe care numai o moarte o desparte de mână.
 a debt of honour
O făgăduială care cântărește mai greu decât viața.
 ambition
Setea de a urca, chiar peste trupuri, spre o treaptă mai înaltă.
 fear of exposure
Groaza de a fi dat în vileag, care împinge la orice.
Open the Grid (below) to solve the case, with the testimonies at hand.
Touch a cell: blank → ✗ (excluded) → ✓ (certain) → blank. Each pair of categories meets exactly once.
| SUSPECTS | LOCATIONS | OBJECTS | ||||||||||||||
|---|---|---|---|---|---|---|---|---|---|---|---|---|---|---|---|---|
 |
 |
 |
 |
 |
|
|
|
|
|
|
|
|
|
|
||
| MOTIVES | |
|||||||||||||||
|
||||||||||||||||
|
||||||||||||||||
|
||||||||||||||||
|
||||||||||||||||
| OBJECTS | |
|||||||||||||||
|
||||||||||||||||
|
||||||||||||||||
|
||||||||||||||||
|
||||||||||||||||
| LOCATIONS | |
|||||||||||||||
|
||||||||||||||||
|
||||||||||||||||
|
||||||||||||||||
|
||||||||||||||||
Verdict
The culprit always lies; everyone else tells the truth.
- A maid whispered it at confession: the suspect with red hair handled the locked chest.
- In the Chancellery's ledger it stands in black and white: the salt market and the inheritance go together.
- Before the investigator, Tintar the Jester firmly repeats: "I was driven by greed".
- The healer says it with a raised finger: if the suspect with dark eyes handled the bronze key, then Sword-Bearer Dragos was not driven by ambition.
- In the Chancellery's ledger it stands in black and white: Captain Vlaicu was driven by fear of exposure.
- The customs register is clear: the wharf and ambition do not go together.
- The gate guard swears: the vial of belladonna and the inheritance go together.
- Whatever the market gossips: the castle cellar and the guild seal do not go together.
- In the Chancellery's ledger it stands in black and white: the wharf and the bronze key go together.
- A maid whispered it at confession: the suspect with greying hair was in the place where anything is bargained for.
- The customs register is clear: the throne room and greed do not go together.
- The chronicler notes drily: the castle cellar and fear of exposure go together, whatever the court may say.
- About the culprit, the Chancellery knows one thing for certain: the culprit was at the wharf.